To display an image in black and white will require the entire image to be displayed as such. The benefit of using black and white allows you to introduce color to specific areas of an image, which makes catches your eye and allows those specific areas stand out.
This is a concept that is used by many industries, such as makeup companies, hair companies, etc. They use the images to draw the consumer’s focus to the specific product, or product results, rather than the whole picture itself.
The tools used for this tutorial is the brush tool, eraser tool, and zoom tool.
Steps to Make Your Photo Pop
Removing Color
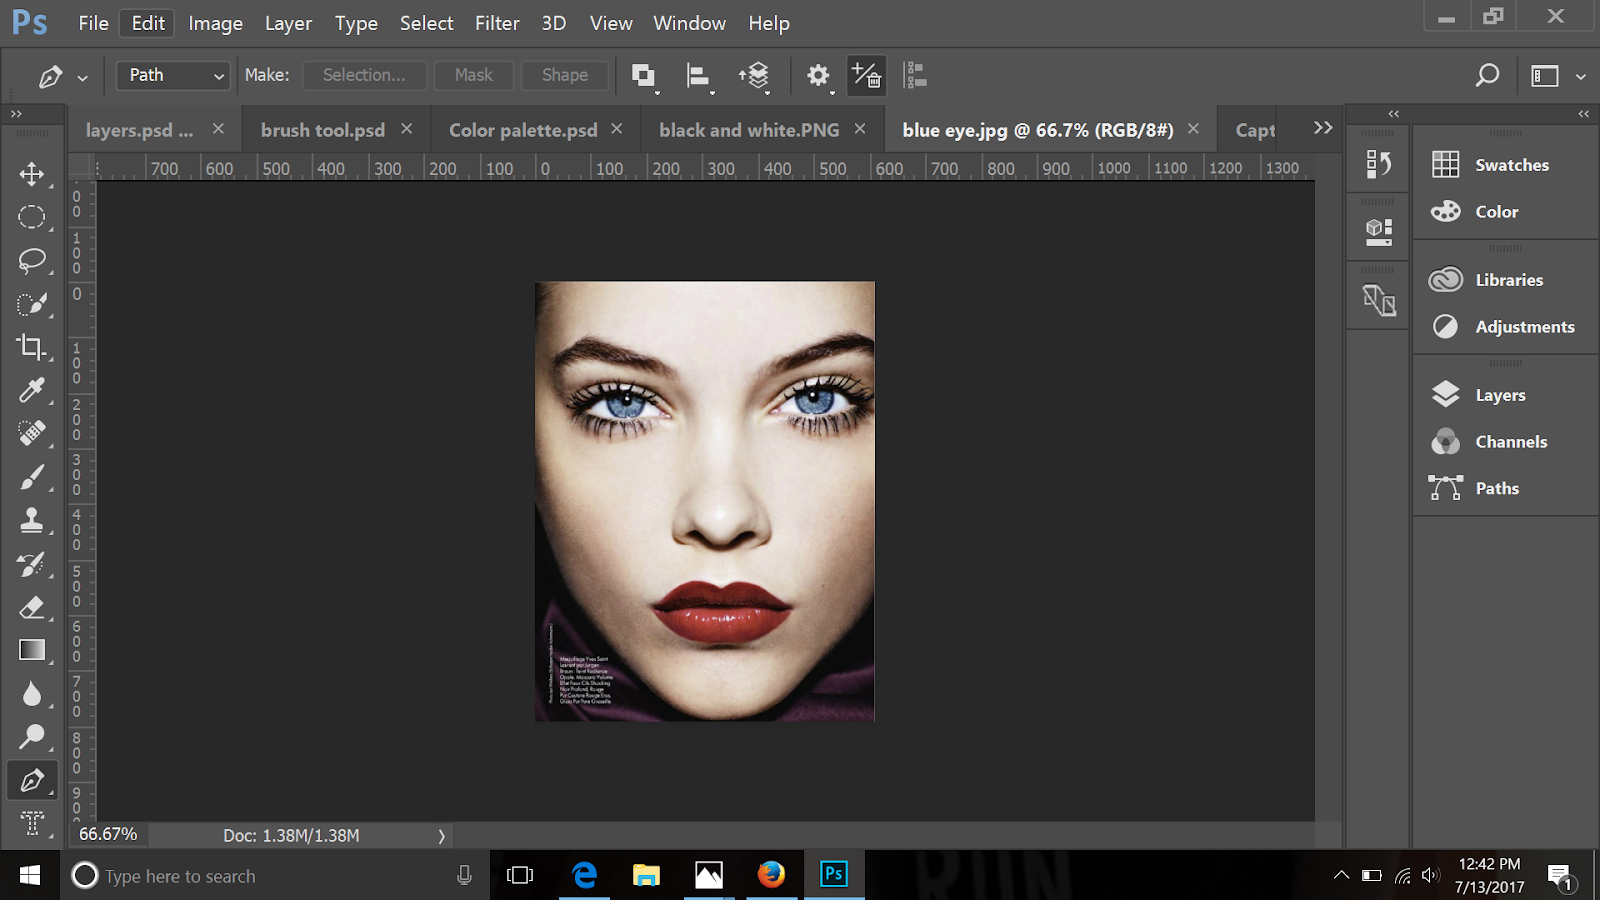
The image I used for this tutorial was selected from Google and we will be focusing on drawing attention to the eyes and lips of the model.
- First, you need to open the image in Photoshop. I am using Adobe Photoshop CC 2017. Once the image is opened, your screen should resemble mine.
2. Click on the tap marked “Layers,” located on the right side of your screen.
Result: The “Layers pop up window displays. This window shows all of the known layers and where new ones can be added, deleted, and put into an order. You can also add features and effects to layers such as layer mask, fills, and adjustment layers.

3. Click the half shaded circle icon at the bottom of the “Layers” popup window.
4. Pressing the “Layers” panel brings up a selection that shows all known layers and where new ones can be added, deleted, and put into an order. You can also add features and effects to layers such as layer mask, fills, and adjustment layers.


5. Then select the two small arrows facing right in the top right-hand corner to remove the “Properties” bar as well as the “Layers” bar by pressing the exact same thing.

6. Once the bars are removed select the “Colors” bracket. This will bring a selection up with many a box and a small rectangle box full of many colors.

7. After that is selected another menu should pop up a box with a color ranging from light to dark and another bar with the rainbow.

8. There are two boxes in that menu, make sure in those boxes at least one is black and one is white. The order of which does not matter. To change those colors to black and white if they are not already, double click on one and move the selection to the colors. White is all the way to the left corner of the color box, and black is in the bottom left corner. The colors have to be set to black and white because the brush tool will be selected to bring color back to what you would like. Black brings the colors back and white erases the color brought back by turning what was colored back to black and white again.

9. Next zoom in on the lips, you zoom in by pressing the hot key “z” and using the left mouse key to zoom in. Once the black and whites are selected close the box using the arrows and select the brush tool which looks like a paintbrush or select it by pressing its hot key “b.” Make sure that the black is selected and if not the colors can be switched between black and white by pressing the hot key “x.”
Coloring in the Lips

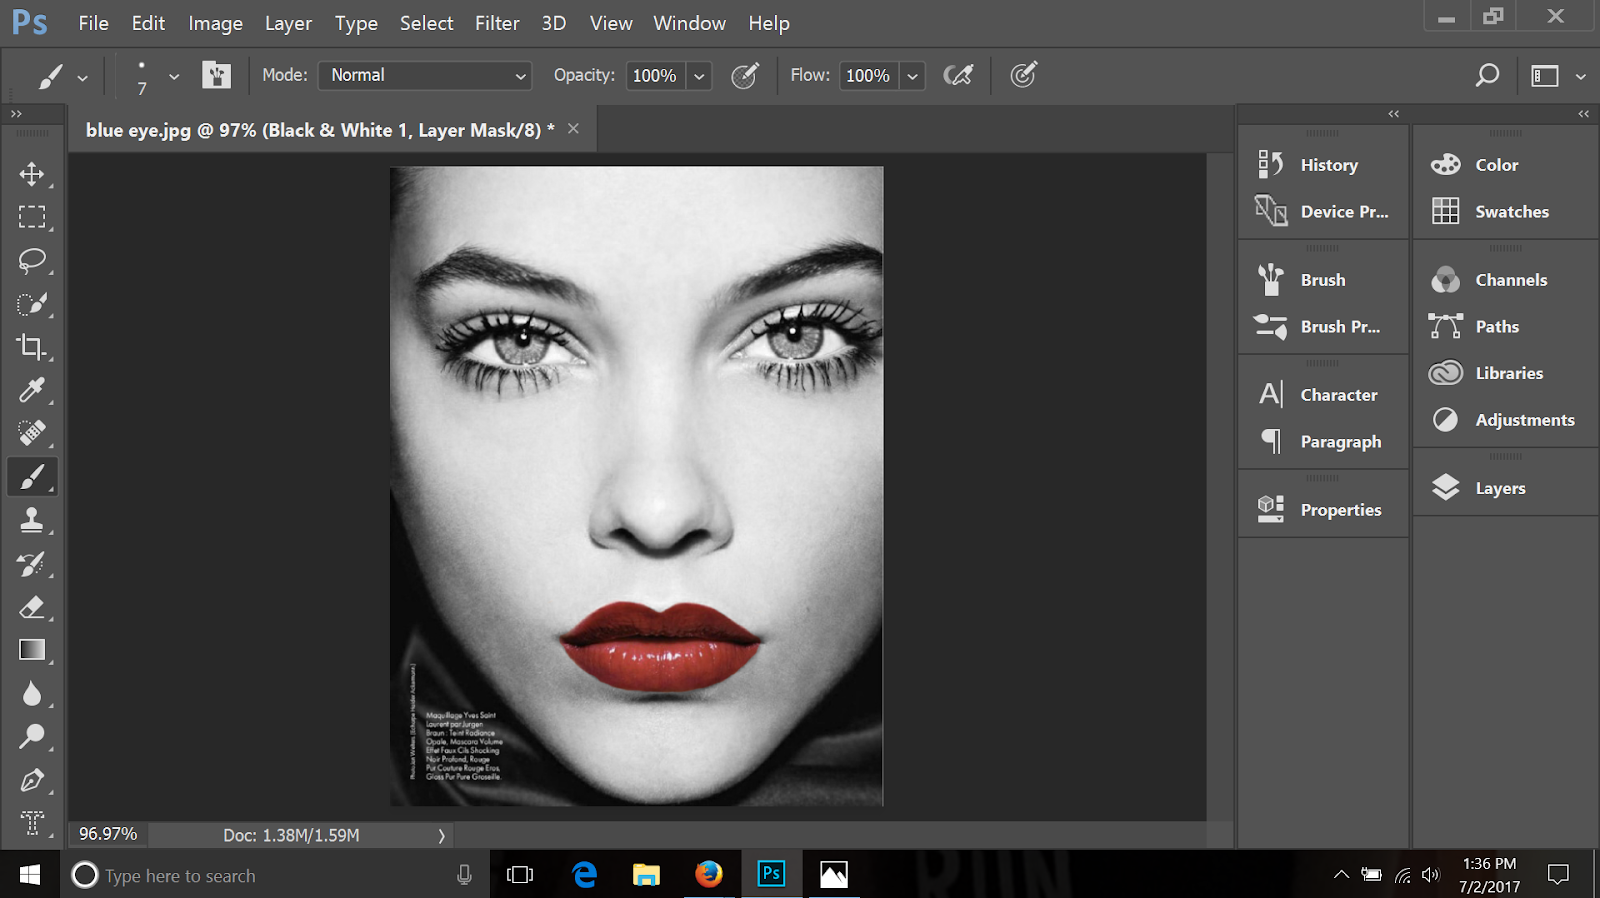
1. Start painting your lips using the left mouse key and fill in. A tip for coloring in is to decrease your brush size. You decrease your brush size by pressing up in the left-hand corner under “Edit” will show a paintbrush to left and next to it a dot with a number under it.
2. Once selected a drop down menu should appear with different slider bars, the slider named “Size” and adjust your brush to a reasonable size about a 7 or 9 anything around there. Having a decreased brush size makes it easier to fill it in around the edges. For the middle, you can increase the brush and make it faster and more efficient. To get all the way around the lips hold down the space key to move around the canvas. To completely zoom out hit the hot key “Ctrl 0.”


If you make a mistake while filling in, all that is need without having to restart the process is to have the brush tool set to white and color back over your mistake.
Coloring the Eyes
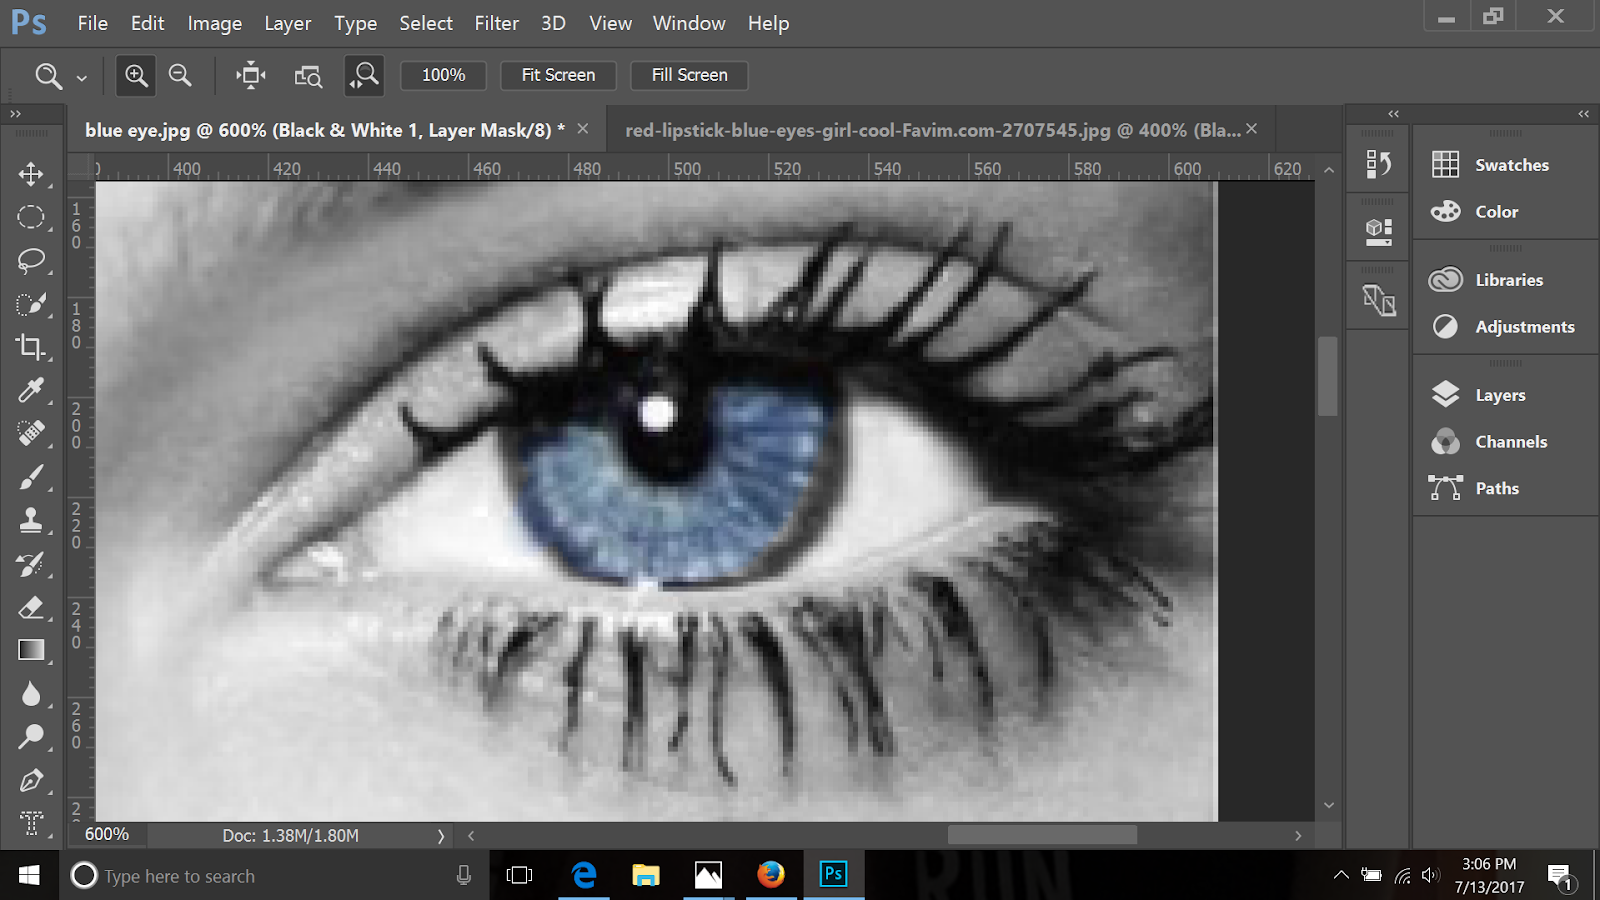
1. Once the lips are completed, you can move on to the eyes. Zoom in on the eyes and do the same as you did for the lips. Make sure the brush tool is selected and you're zoomed in enough.

2. Continue the same on the right side.
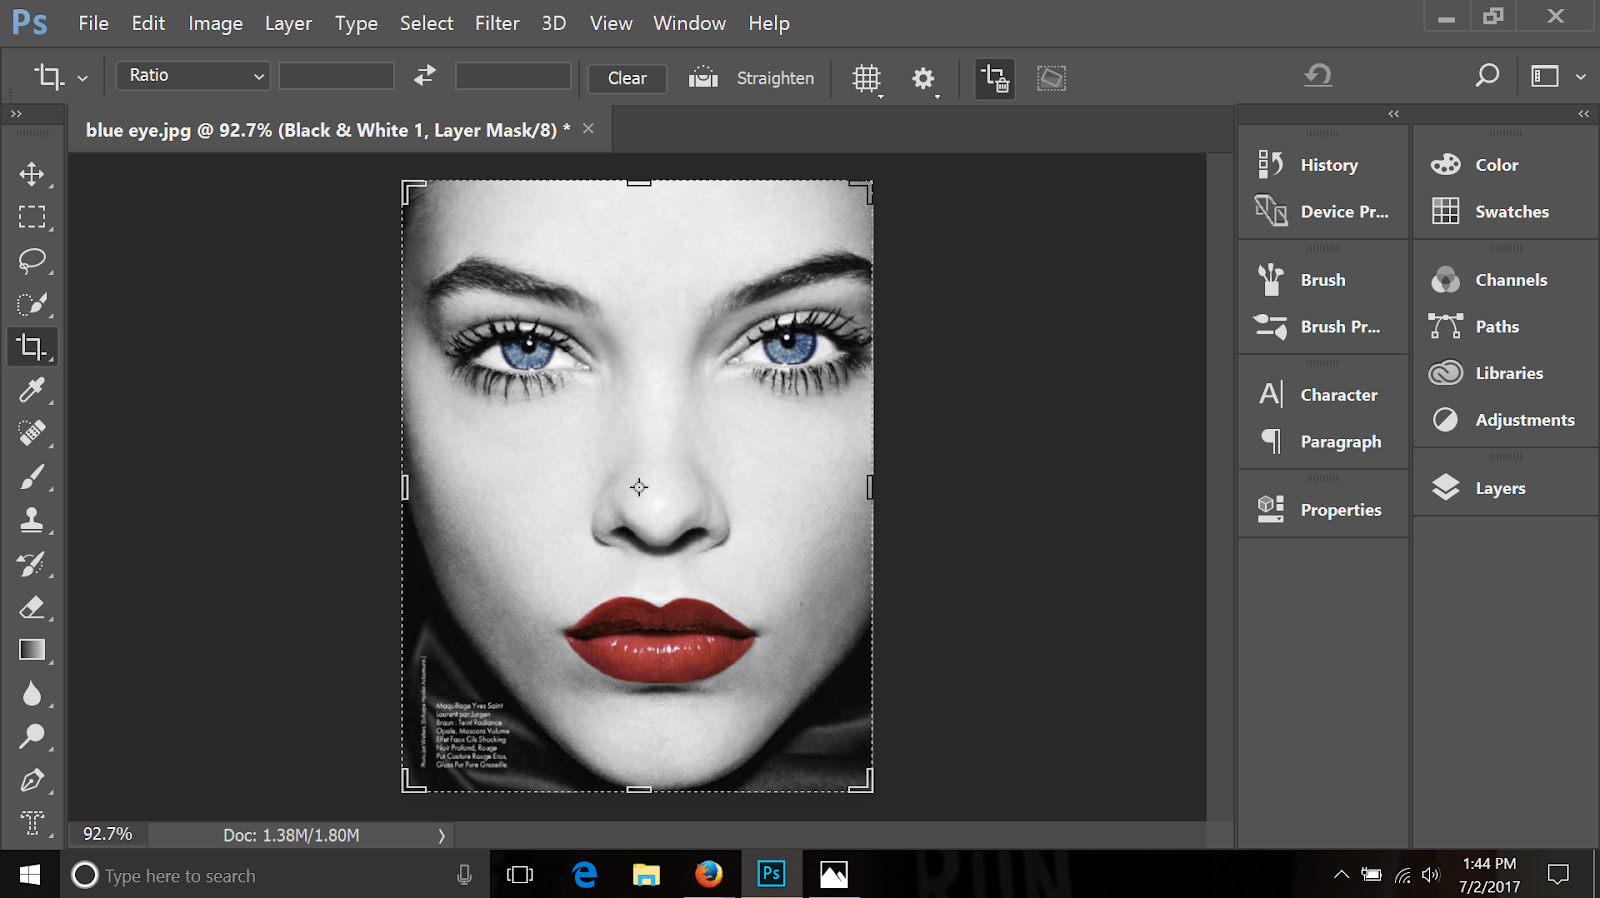
The Final Product
Once your eyes are completed your image is completed. The image should have both eyes and lips colored in. The eyes and lips stand out above the rest to bring attention them.
Love tutorials? Check back at our blog for more.
If you have additional design needs we are always here to help.
Search
Tags
Latest Blog Posts
- ChatGPT Atlas: Meet the Browser That Brings AI to Every Tab
- What Pittsburgh Businesses Can Learn from the New Pittsburgh Airport Terminal
- Generative Engine Optimization: Strategies to Win in AI
Rss

Rss Archive